This section covers the usage and main features of Web Print. For detailed configuration see the section called “Web Print Configuration”.
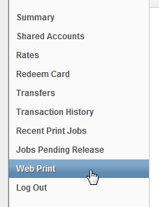
Log into the PaperCut NG user interface and click the Web Print link in the navigation menu.
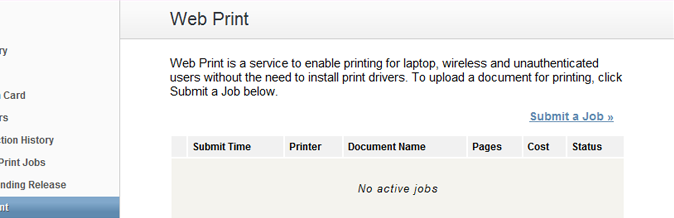
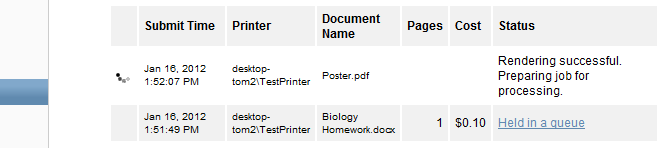
The front page contains a list of active and recently submitted Web Print jobs for the logged in user. At first the list will be blank. Later the list will show the status of submitted jobs.
The message at the top of this page may be customized, e.g. to include site specific information or other details that users may need to know. See the Introductory message option in Figure 20.15, “Web Print settings in the admin interface”.
The administrator may restrict access to the Web Print feature by group, by IP address/range or disable the feature entirely. See the section called “Advanced Web Print Configuration” for details.
Click Submit a Job to start the Web Print wizard.
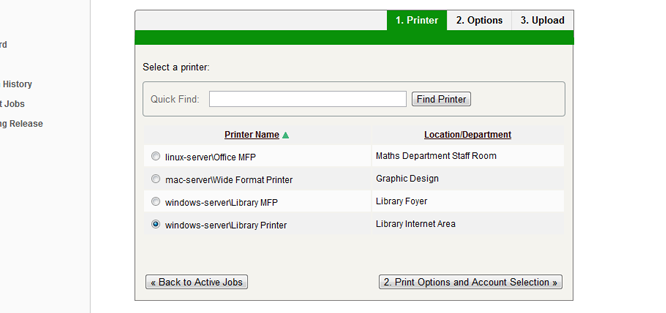
The first step of the Web Print wizard is selecting a printer. This is the printer that the uploaded document will print to.
The printers available for Web Print are chosen by the administrator. See the section called “Web Print Configuration” for details.
The printer list may be replaced with a clickable map or other custom content. See the section called “Designing Printer Maps / Custom Printer Selection Lists” for details.
Tip
Web Print works great in conjunction with hold/release queues and Find Me Printing (print job redirection / load balancing) .
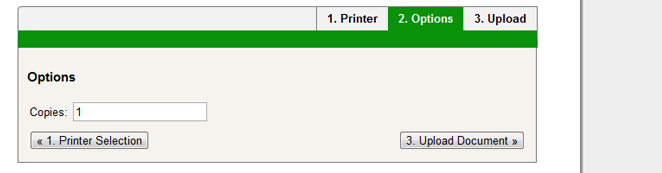
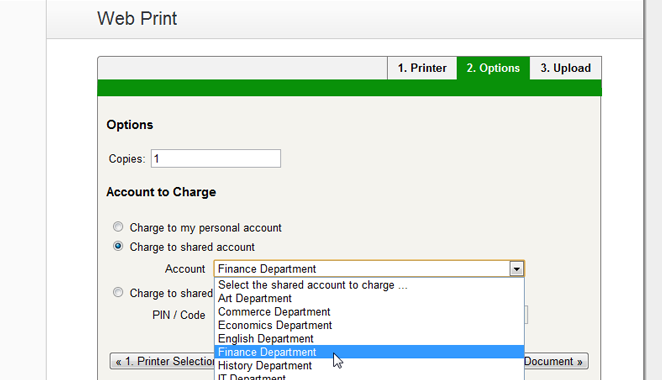
After selecting a printer the second step is to select the print and/or account selection options. Most users will simply see an option to select the number of copies to print:
The maximum number of copies a user may submit is configurable via the
user.web-print.max-copiesconfig editor key. See the section called “Advanced Web Print Configuration” for details.Users with print account selection options (i.e. users who are using an account selection popup) will see additional options on this page, equivalent to what they would see on their popup:
Note
The developers hope to be able to support grayscale and duplex print options in the near future.
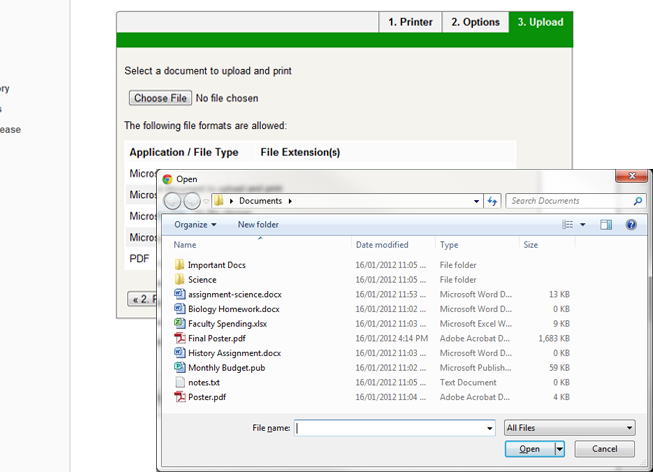
After selecting the print options and/or account selection settings, the third and final step in the Web Print wizard is to upload a document to print. This page lists the applications and associated file extensions that are supported.
If a supported application/file extension that is listed in the section called “Supported Applications and File Formats” is not shown on this page but you expect that it should be, see the section called “Troubleshooting Web Print Problems” for assistance.
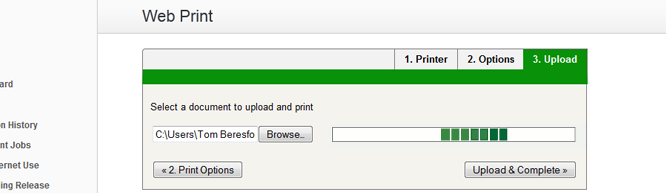
Once a document has been selected and is pressed the file will begin uploading to the server.
The maximum file size a user may upload is configurable, with a default of 100MB. See the option Maximum document/file upload size in the section called “Advanced Web Print Configuration” for details.
Once the document upload is complete the user is returned to the front Web Print page. The table now displays the status of the user's job. The status will change to indicate the progress of the job from rendering to printing, and job details such as cost and number of pages will be populated when known. The user may stay at this page to track the status of the job or navigate away / close their browser - the job will not be affected.
At this stage the PaperCut application server accepts the uploaded document and sends it to the Web Print server. The Web Print server renders the document into a print queue by automating the process of opening the application (e.g. Adobe Reader) and printing to the target printer.