Table of Contents
This setup guide is not intended to be a full setup guide for ISA Server 2004/2006, but provides the minimum steps involved in getting ISA set up to work with PaperCut NG.
Install ISA Server 2004/2006 from the installation media as per ISA Server installation documentation.
When prompted for your internal address ranges, make sure you accurately specify all IP address ranges that your internat network uses.
Open the ISA Server management console ( → → → ).
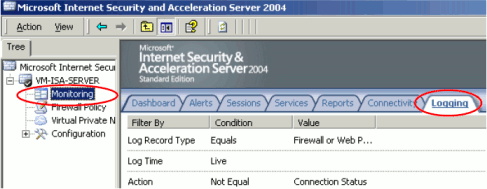
On the left menu select the Monitoring node of your ISA Server, and select the Logging tab.
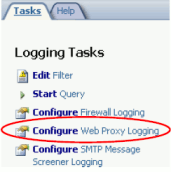
On the right hand side of the logging pane, select the Configure Web Proxy Logging option.
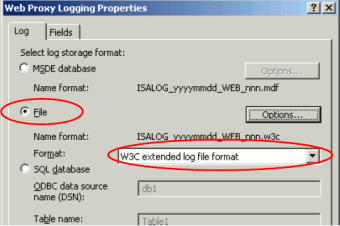
Select the File logging option and ensure the
W3C extended log file
                    format
is selected.Click the button to enable the W3C log format.
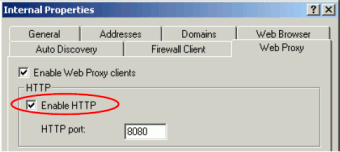
Check that the web proxy server is enabled for your internal network by selecting the Firewall Policy node on the left, opening the toolbox on the right, and opening the properties for the internal network under → → .
On the Web Proxy tab, ensure that the HTTP proxy is enabled.
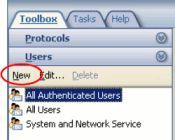
Define a new
User Setthat will control the list of users to restrict access for. To do this select → → .Define the
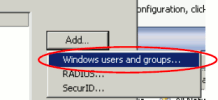
User Setname as something meaningful likePaperCut NG Internet Usersor justInternet Users.When prompted to select the users for this set, press and select Windows users and groups....
Select the Windows security group that you defined for PaperCut NG to use when allowing/disallowing internet access based on the user's credit.
By default ISA server disallows all traffic, so a rule needs to be defined to allows users to access the internet if they belong to the
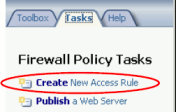
Internet UsersWindows security group defined for use with PaperCut NG.On the Firewall Policy screen, select the Create New Access Rule from the Tasks tab on the right.
Give the access rule an appropriate name. For example
PaperCut NG Internet Access.Select Allow to indicate that matching this rule allows access.
Important
If you have configured PaperCut NG to populate the security group with denied users (see the section called “Using a deny group for Internet access control”), then a Deny rule should be created instead.
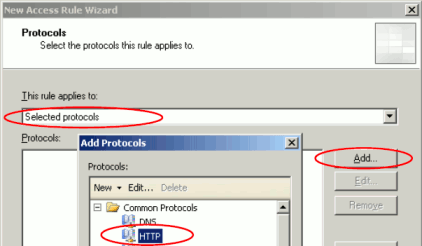
When prompted for the protocols to allow, select Selected protocols from the list, and add the
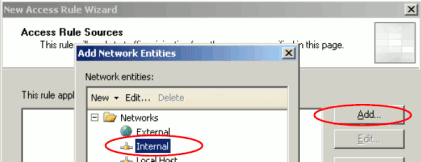
HTTPprotocol to the list.Then when prompted about which sources this rule applies to, select your internal network.
Select the External network for the Access Rule Destination.
When prompted for the User Sets, select the previously defined User Set that contained the
PaperCut NG Internet AccessWindows group.Press to complete the definition of the Access Rule.
Click the button to enable the changes to the User Sets and Access Rules.
Important
This configuration assumes that the default ISA access rule for users is a
Denyrule. This means that if the user does not belong to thePaperCut NG Internet AccessWindows group then they will be denied Internet access. If your ISA server is configured with a defaultAllowrule, then this rule should be modified to aDenyrule and other rules adjusted appropriately.Ensure that PaperCut NG is correctly set up to find the ISA Server 2004/2006 log files. For more information see the section called “Internet Control service setup”.