Larger networks often run the Macs in a domain environment either authenticating with an Active Directory or an LDAP network. In an authenticated domain environment, the identity of the user (the user's username) is known and verified at the time of login. With the help of the TCP/IP Printing Services for Microsoft Windows, and the LPR/LPD support on the Mac, print jobs can be identified on the server and associated with the user's login name. This avoids the need for the popup authentication used in Scenario Two.
Macs set up in multi-user mode authenticating off a domain. Either Active Directory or LDAP.
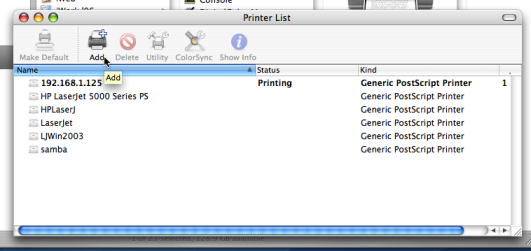
Printers hosted on a Windows print server.
The server needs the TCP Printing Services installed (also known as Print Services for Unix).
On the server hosting the printers, setup TCP/IP Printing:
Log into the server as a system
administrator.Select → .
Click on .
Select Other Network File and Print Services
Click and ensure Print Services for Unix is selected.
Click to complete the installation.

Tip
Some systems running firewall software may block LPD printing. On systems running firewall software, ensure that incoming connections from the local network are allowed on port 515.
On each Mac, add the required printers:
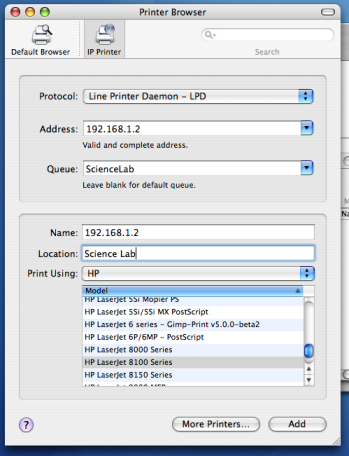
Open the Printer Setup Utility from Applications -> Utilities.
Click the button to add a new printer.
Click the button at the top toolbar.
From the Protocol dropdown, select Line Printer Daemon - LPD.
Enter the IP address of the server hosting the printers in the Address field.
Enter the printer's share name in the Queue field.
Define a user friendly name in the Name field and select the printer type.
Click the button.
Repeat for other printers as necessary.
To install the PaperCut NG client software:
Open the Finder.
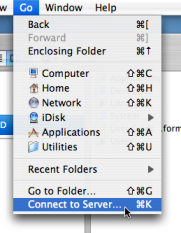
From the Go menu, select Connect to Server...
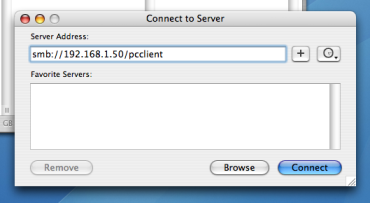
Enter the pcclient share's connection details like:
smb://server_name/pcclientWhere
server_nameis the name of the server hosting the PaperCut NG server software.Enter password information if requested.
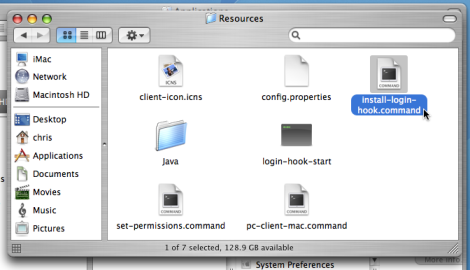
Drag the
PCClientpackage over to the local hard disk's global Applications folder. The copy process will commence.Control-click on the newly copied
PCClientapplication in the Applications directory. Select Show Package Contents.Browse to
Contents/Resources/.Double-click on the
install-login-hook.commandscript.Restart the system and verify the client starts on login.
Testing:
Restart the system and ensure the client starts on login and lists the user's account balance.
Ensure print jobs correctly account under the user's PaperCut NG account.