The one-click reports in the PaperCut NG web interface are good for finding important data fast, however sometimes it is more convenient to have important data 'pushed' to interested parties. This can be achieved through the use of scheduled reports.
PaperCut NG can schedule reports to run periodically and have them automatically sent out via email or saved to a folder. Scheduling reports can be used for a variety of purposes, for example:
Sending a department manager a summary of the department staff's printing.
Sending a teacher a summary of printing for each student in their class.
Producing and using a CSV report saved to disk to import into an external system, such as an accounting package.
Producing a regular report for billing or invoicing purposes.
The scheduled reports page can be found at → .
Important
Before scheduled reports can be sent via email, PaperCut NG needs to know where to find a SMTP server (outgoing email server). For information about how to configure email notifications, see the section called “Configuring Email Notifications”.
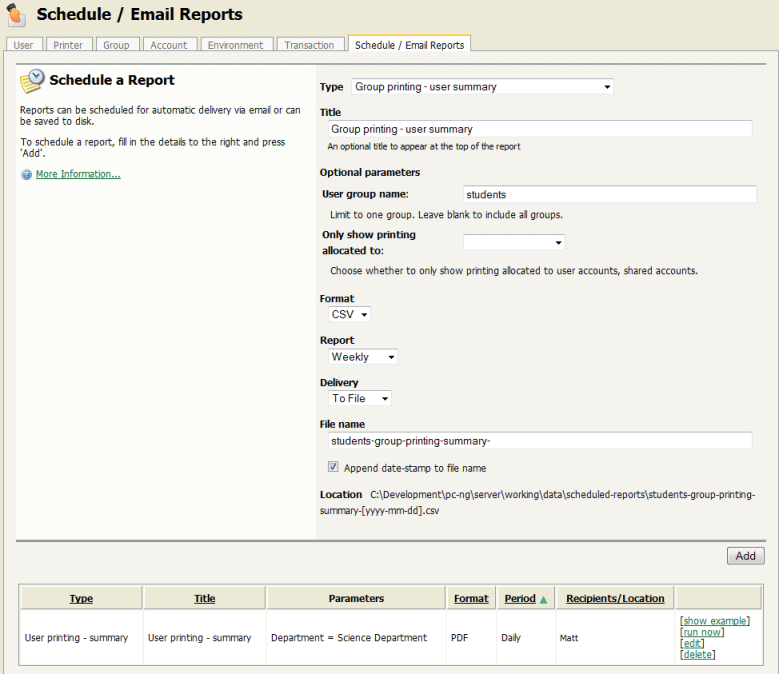
To create a scheduled report, choose the desired report options and press Add. The process is best described by way of example:
Joe is head of the science faculty at a university. Faculty staff have the ability to charge printing back to the faculty. Joe would like to see, on a regular basis, how much printing each user charges to the faculty.
To do this:
Navigate to the Scheduled Reports page.
Click Schedule a new report... if the panel is not already displayed.
Choose the report Type of Shared account printing - user summary.
Under → , enter Joe's faculty shared account name, Science.
Change the report title to "Science Faculty Account Printing".
Leave the report Format as PDF.
Make the report deliverable every week by setting Report to Weekly.
Set the Delivery to By email.
Enter Joe's email address under Recipients.
Press Add.
The report is now scheduled to run every week, and should now be shown in the table on the bottom of the page. Joe will receive an email every Sunday showing the previous week's printing in his faculty. To find out exactly when the report will be sent, see the section called “Details”. To see an example of what the report will look like, press [show example] next to the report. To manually run the report (generate it and email to Joe now), press [run now]. The
The [run now] operation also provides a convenient way to resend the previous period's report if the original delivery failed or if the email was accidentally deleted.
Mary is head of the marketing division at a company. She would like to see which printers her staff use most, to make decisions about printer redistribution and purchasing. Also of interest are the sizes of paper being used, and how much color printing is being performed.
To do this:
Navigate to the Scheduled Reports page.
Click Schedule a new report... if the panel is not already displayed.
Choose the report Type of Group printing - printer summary.
Under → , enter Mary's division group name, Marketing.
Leave the report Format as PDF.
Make the report deliverable every fortnight by setting Report to Fortnightly.
Set the Delivery to By email.
Enter Mary's email under Recipients.
Press Add.
The report is now scheduled to run every fortnight, and should now be shown in the table below. Mary will receive an email every second Sunday showing the previous fortnight's printer usage by her division.
John is the head of the accounting department in the organization and wants to charge his clients for invoiced printing allocated to their account. He wants that data in the external accounting system. He can schedule shared account printing - summary report to be saved to disk so that he can access the same file periodically and import the data into his external system.
Navigate to the Scheduled Reports page.
Click Schedule a new report... if the panel is not already displayed.
Choose the report Type of Shared account printing - summary .
Under → , select, yes.
Change the report Format to CSV.
Make the report deliverable every week by setting Report to Weekly.
Set the Delivery to To file.
Enter a file name client-summary.This will be the name under which file will be saved on the disk.
Press Add.
Tip
Selecting the option Append datestamp to file name is optional. If the option is selected, then the report will be saved with a unique name, including the date every time, otherwise the report will be overwritten periodically.
The report is now scheduled to be written to disk every week, and should now be shown in the table below.
John will see a new report being generated under the name of client-summary.csv, every week under [app-path]/server/data/scheduled-reports.
Each report Period determines when the report will run. When the report includes date based usage information (such as printing usage), the period also determines the date range of the data to include.
| Period | Report Run Time | Report Date Range |
|---|---|---|
Daily | Early every morning, about 12:55am. | The previous day. |
Weekly | Every Sunday in the early morning, about 12:55am. | The previous week, from Sunday to Saturday |
Fortnightly | Every second Sunday in the early morning, about 12:55am. Fortnightly reports are run on even weeks, i.e. the second week of the year, the fourth week of the year, etc. | The previous fortnight, from two Sundays ago to Saturday. |
Monthly | Early morning on the first day of every month, about 12:55am. | The previous month. |
Table 9.2. Scheduled reports delivery times
Tip
Reports scheduled to write to a file are always written to a folder on the server located at
[app-path]/server/data/scheduled-reports. This is a local folder on the
server where PaperCut NG is installed. It is not possible to change this target location to
point to say a network share on another system. The reason for this is that PaperCut
runs as a system service/daemon with limited rights and hence will not have access to other
locations/servers. If the file needs to be accessible/consumed from another system, consider
sharing the target folder, or using a scheduled task running as a privileged user
(e.g. Windows Task or Cron job) to copy the file.
Tip
If a user has their email address set in PaperCut NG, their username can be entered in the Recipients instead. For example, instead of entering [email protected], entering just joe will work.