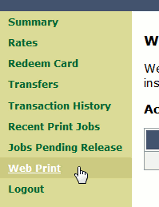
The Web Print system allows students to print to college printers from their own laptops without the need to install drivers. It works by offering a facility to upload documents in formats such as PDF, DOC etc using a standard web browser. You access Web print from the print system's User Web Tools.
The system can print documents that have the following file formats:
| Application | File Format(s) |
|---|---|
Adobe Reader 9 | |
Microsoft Office Excel 2007 | XLS, XLSX, etc. |
Microsoft Office PowerPoint 2007 | PPT, PPTX, etc. |
Microsoft Office Word 2007 | DOC, DOCX, etc. |
|
Microsoft XPS Document Writer | XPS |
Table H.1. Web Print Supported Applications and File Formats
Free PDF printers are available for download from several websites such as PDF Creator. Printing from any application using the normal print function will produce a PDF document that can be uploaded using this system.
All Vista and higher versions of Microsoft Operating Systems have a virtual XPS printer that works similarly to the PDF printers.

To print a document:
Open your browser to
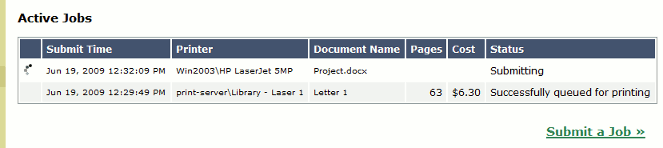
https://[server-name]:9192/userand log in using you network username and password. Select the Web Print link in the navigation menu.The front page contains a list of your active and recently submitted Web Print jobs. At first the list will be blank. Later the list will show the status of submitted jobs.
You may see a message at the top of the Active Jobs page with other information that you may need to know to use Web Print.
Click Submit a Job to start the Web Print wizard.
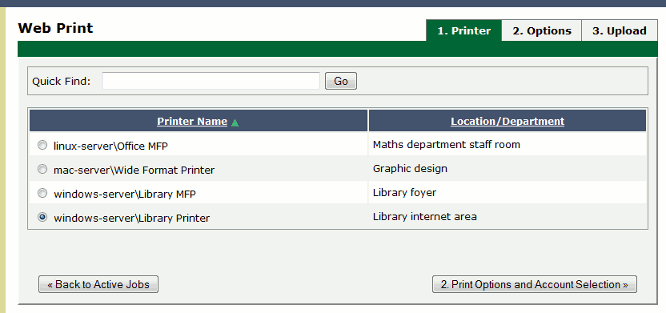
The first step of the Web Print wizard is selecting a printer where your job will be printed.
Instead of the Printer List you may see a clickable map or other graphical representation of the printers that are available.
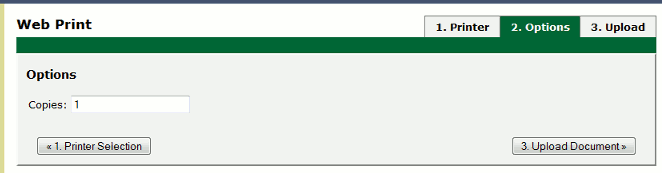
Select the number of copies to print. (Users that have permission to print to shared accounts will see additional options on this page.)
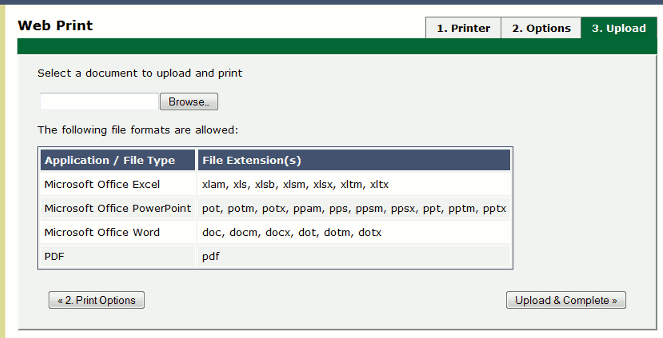
After selecting the print options and/or account selection settings, the third and final step in the Web Print wizard is to upload a document to print. This page lists the applications and associated file extensions that are supported. Once a document has been selected and Upload & Complete is pressed the file will begin uploading to the server.
Once the document upload is complete you will be returned to the front Web Print page. The table now displays the status of your job. Jobs may be queued during times of high load. The status will change to indicate the progress of the job from rendering to printing, and job details such as cost and number of pages will be populated when known. You may stay at this page to track the status of the job or navigate away or close the browser. The job will not be affected.