Set up a Mac OS 10.7 system to act as your iPad / iPhone print server. This can be your existing Mac print server (if it meets the system requirements), or a separate (secondary) print server (see the section called “Configuring a Macintosh Secondary Print Server” for details).
Install the print queues and drivers for the printers you wish to share to your iOS devices. These print queues should point directly to the printer, not another print server.
Test printing from a local application (e.g. Safari) to ensure that the drivers and printers are functioning correctly.
Install PaperCut. If you are setting up a secondary Mac print server (i.e. the primary PaperCut server is on another system), follow the steps at the section called “Configuring a Macintosh Secondary Print Server”. If you are setting up a Mac primary server, follow the steps at the section called “Installation on Apple Mac”.
Ensure that your Mac server is connected to the same subnet as the wireless network that the iOS devices will connect to. Without further configuration, the publishing protocol Bonjour will broadcast to the local subnet only and devices on other subnets will not see your printers.
You may overcome the single subnet limitation by connecting your Mac server to multiple subnets. If you are using a cabled network, your Mac will need a separate Ethernet interface for each network connection. However, if you are using a wireless network, you may add multiple IP addresses, one for each subnet, to the same network interface. To add multiple addresses to a wireless interface:
Open ( → ) and select your wireless interface.
Click the gear icon underneath the interface list and select . Enter a name for your new network and click .
Select the duplicated network connection and click . Select the tab and choose . Enter an IPv4 address for the subnet you wish to connect to.
Your chosen IP address must be unique. Make sure you choose an IP address outside the DHCP address allocation range so that you can be sure that you will not experience address conflicts. Alternatively you can configure DHCP to permanently reserve the chosen address for your Mac Server. (DHCP configuration is normally performed on your network router.)
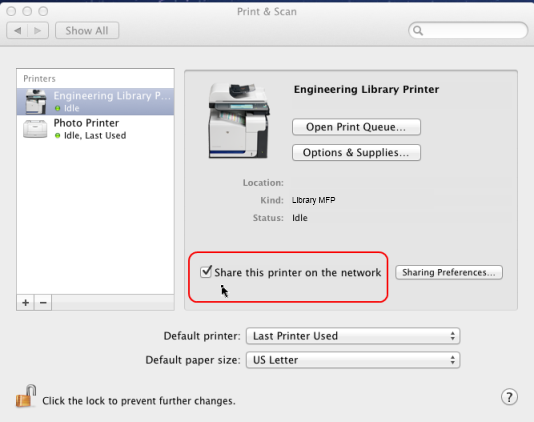
Share all the printers that you would like to publish to iOS devices: → → → (to do this, Printer Sharing must first be enabled in the Sharing pane).
Run
/Applications/PaperCut NG/Control Printer Monitoring.commandand choose to disable print tracking on the print queues that will be shared (see the section called “On Mac” for details). This will allow you to test iOS Printing functionality without PaperCut's monitoring involved (to limit what is being tested).Print a document from your iOS device. E.g. open Safari, load a web page, touch the "arrow" menu and select Print. When selecting a printer, the queues shared from your Mac print server should now appear (if not, see Q:). The job should print correctly.
Test printing across a number of printers and apps such as Mail, Safari, Photos and iBooks / PDFs. Not all printers are capable of supporting all formats. Take the time to test and ensure the printers that you are making available produce acceptable results.
Re-enable PaperCut tracking using
/Applications/PaperCut NG/Control Printer Monitoring.command(see the section called “On Mac” for details).