Use an existing trusted IIS certificate
If your organization's intranet is served by Internet Information Server (Windows), Apache (Linux), or another web server, you might be able to use the trusted IIS certificate for PaperCut NG/MF.
You can use an existing trusted IIS certificate if either:
-
your intranet server and PaperCut NG/MF Application server run on the same server, that is, they have the same server name and address
-
you have a wild-card certificate that allows arbitrary subdomains under the domain name (for example, myschool.edu) for which it was issued
To use existing trusted IIS certificate:
Step 1: Export the existing trusted IIS certificate
To export your trusted certificate:
-
Open the Windows management console.
-
Select your IIS server.
-
Navigate to the Windows Start menu.
-
Right-click the Command Prompt.
-
Select Run as administrator.
-
Run the following command:
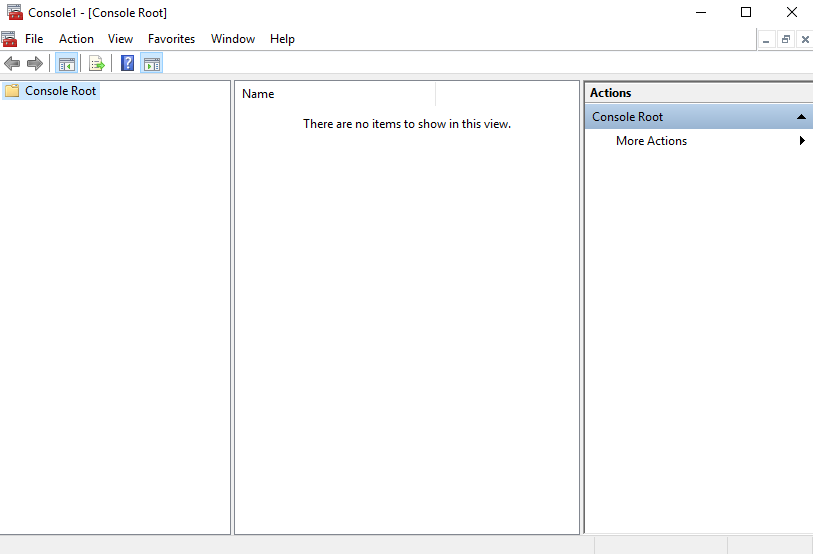
MMC
-
Verify that the Console Root screen is displayed:

-
On the Console Root screen, press the keyboard shortcut Ctrl+M.
-
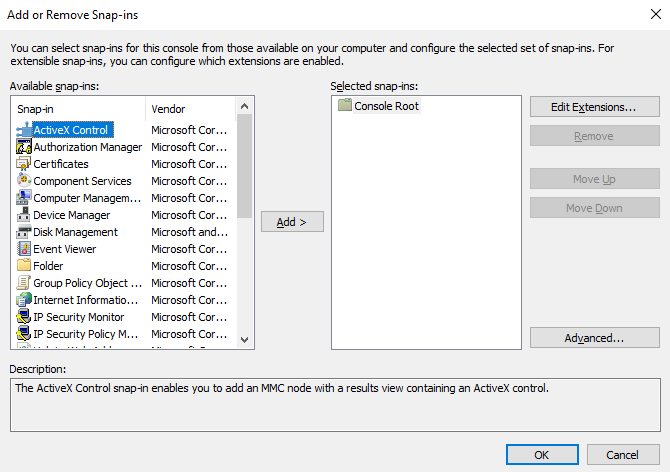
Verify that the Add or Remove Snap-ins screen is displayed:

-
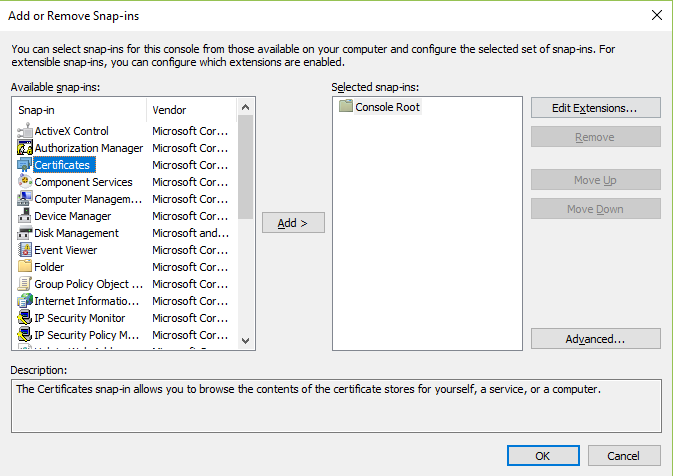
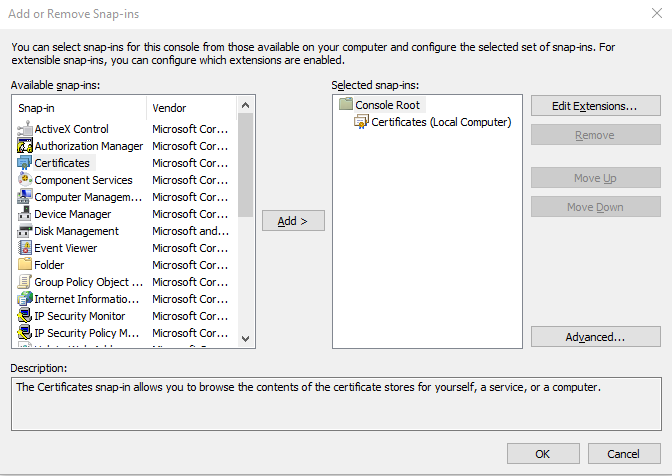
On the Add or Remove Snap-ins screen’s Available snap-ins list, select Certificates; click Add:

-
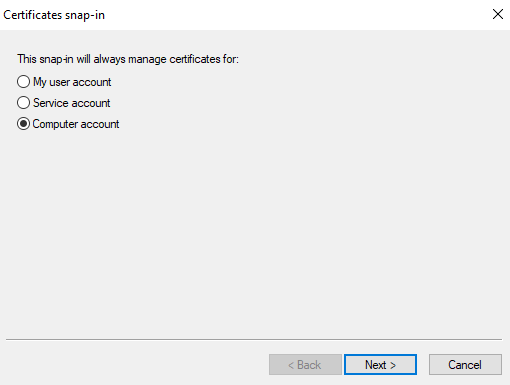
From the Certificates snap-in screen, select Computer account; click Next>:

-
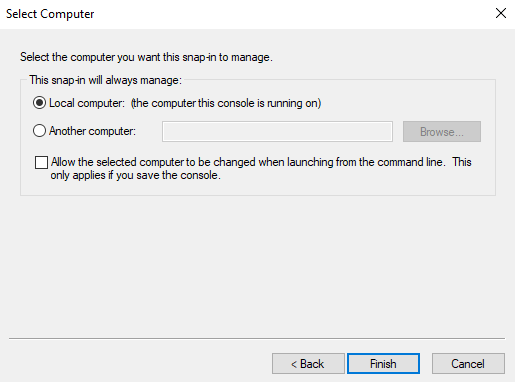
Click Finish:

-
Verify that on the Add or Remove Snap-ins screen’s Selected snap-ins list, Console Root > Certificates is displayed:

-
Click OK.
-
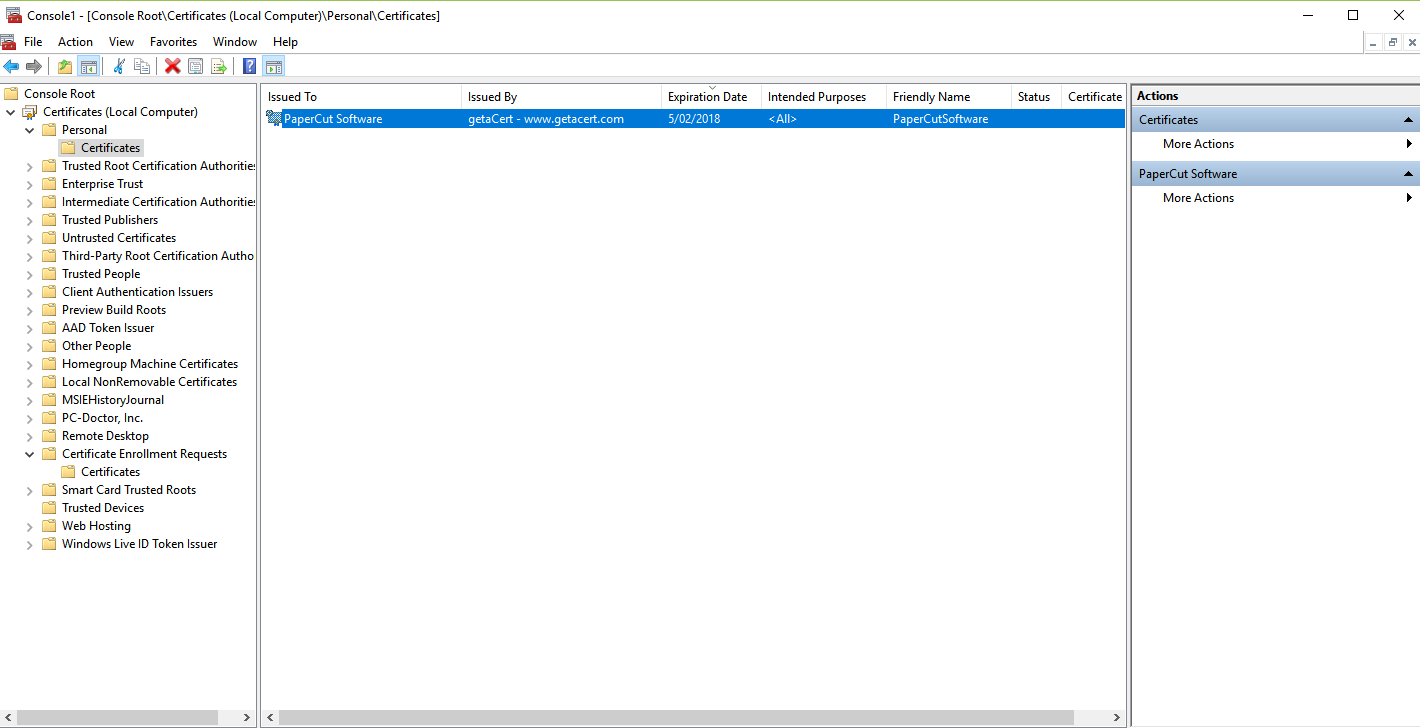
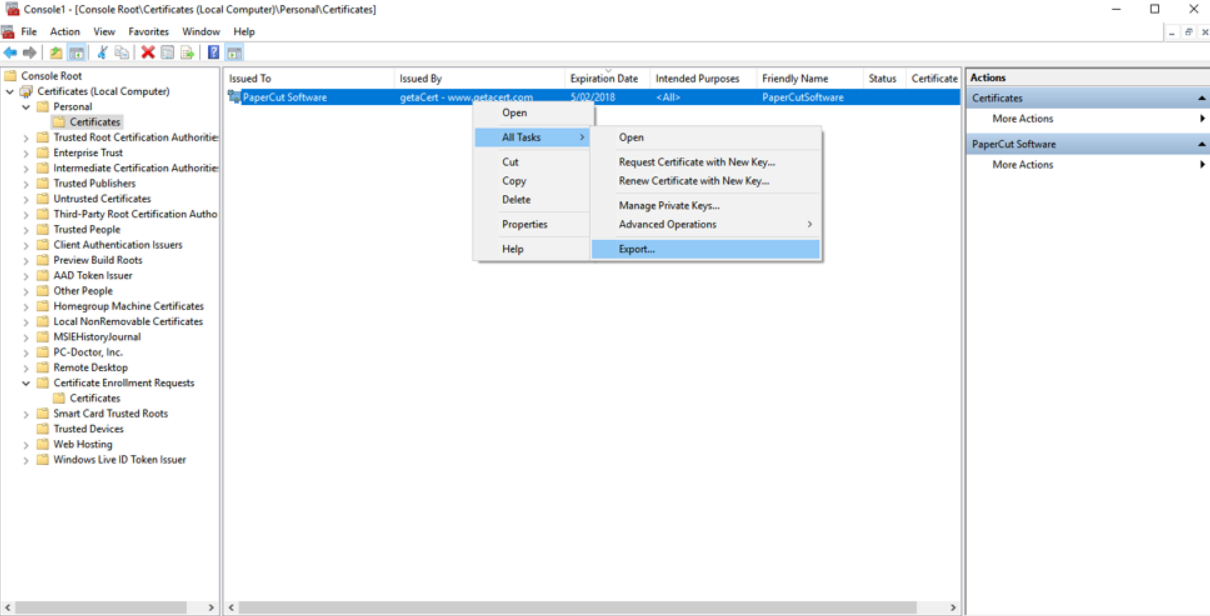
On the Console Root screen, navigate to: Console Root > Certificates > Personal > Certificates:

-
Right click the certificate and navigate to: All Tasks > Export…:

-
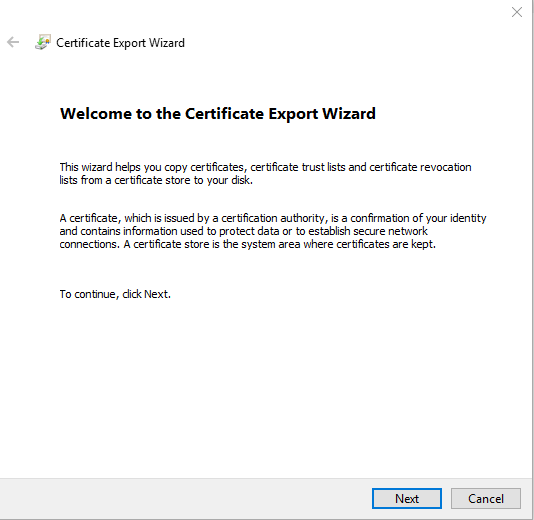
Follow the Certificate Export Wizard’s prompts:
-
Click Next:

-
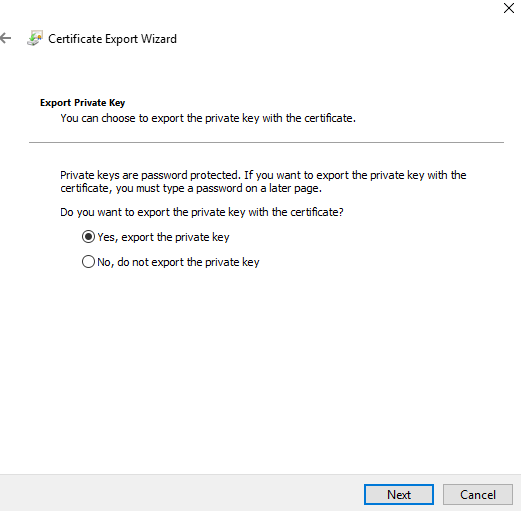
Select Yes, export the private key; click Next:

-
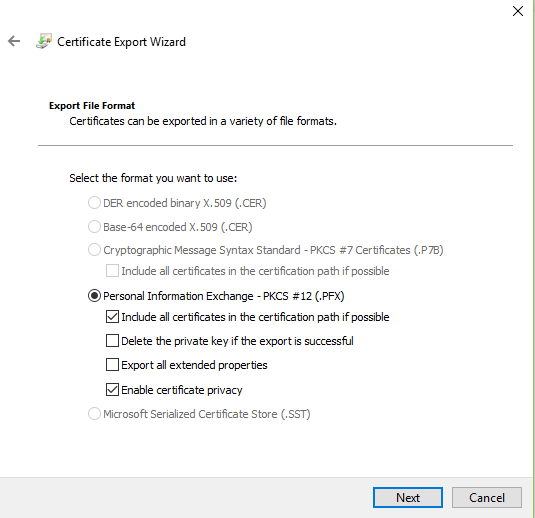
Select Personal Information Exchange, Include all certificates in the certification path if possible and Enable certificate privacy; click Next:

-
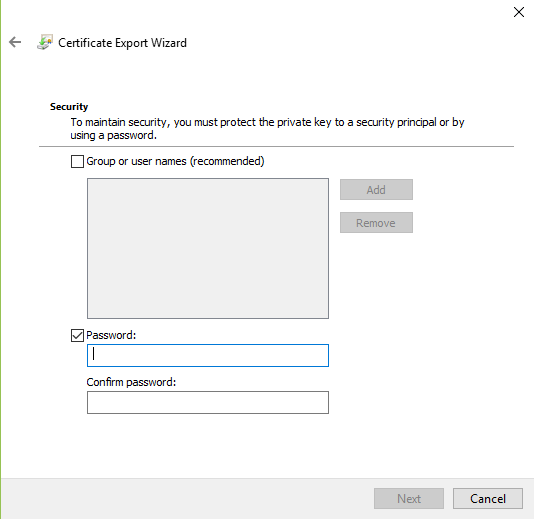
Select Password; then enter the export password; then click Next.
IMPORTANTWhen importing the certificate use this same password as the source keystore password.

-
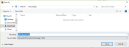
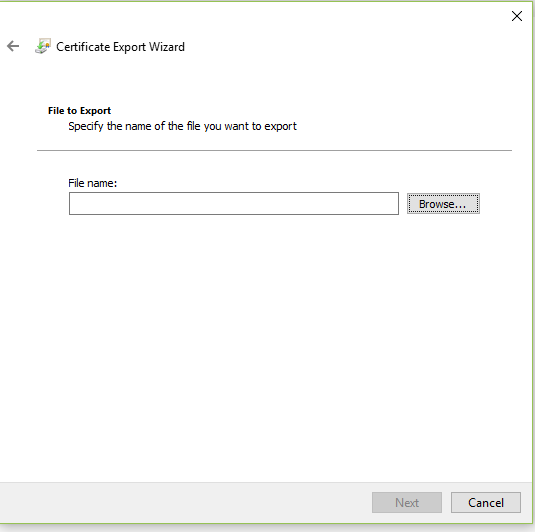
Click Browse:

-
Select the directory in which the certificate will be exported to:

-
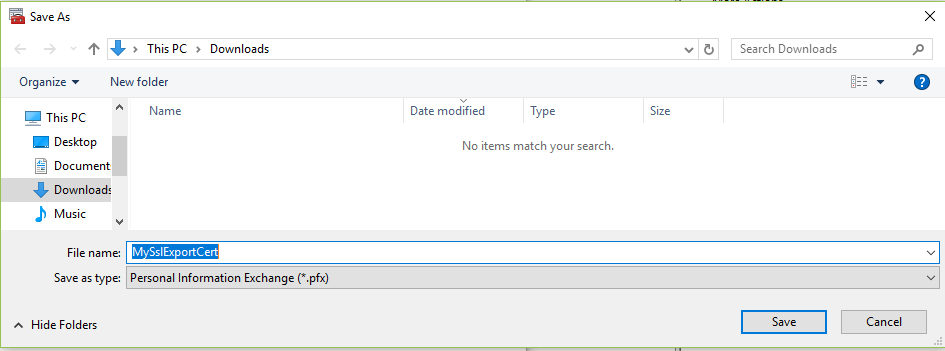
Enter the File name that the certificate will be exported as, in the directory you selected; click Save:
-
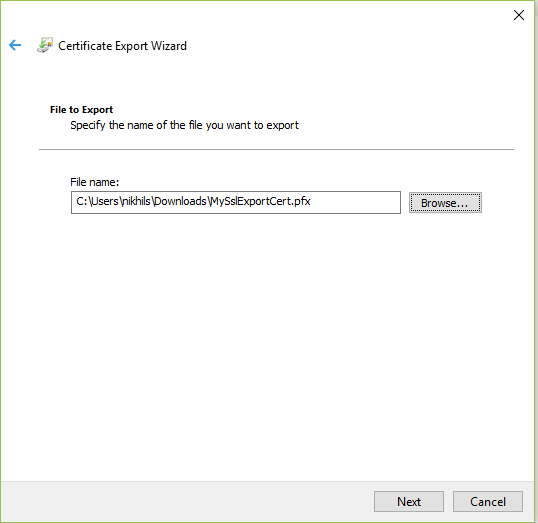
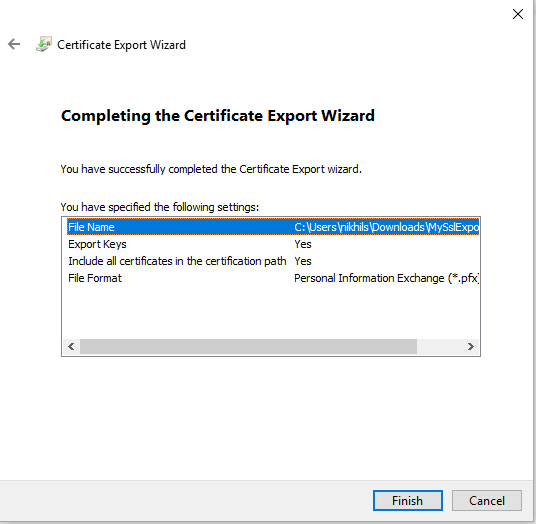
Verify that the File name displays the path of directory you selected and the file name of the certificate that you specified; click Next:

-
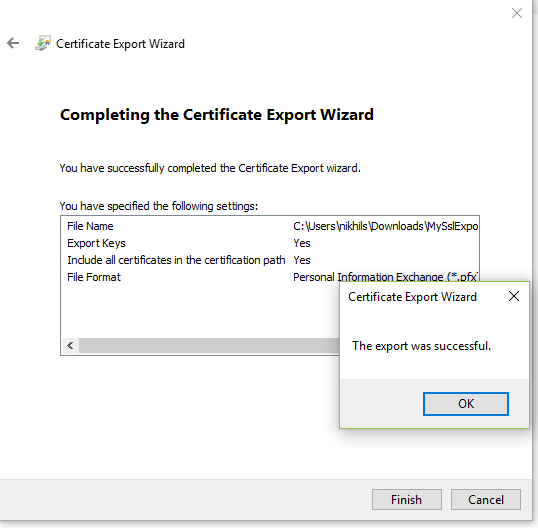
Click Finish:

-
Click OK:

-
-
Close the Find Certificates screen.
-
Close the Console Root screen.
-
Click No:


Step 2: Import the existing trusted IIS certificate into the PaperCut NG/MF keystore
To import your trusted certificate into the PaperCut NG/MF keystore:
-
Navigate to the directory where your exported certificate is saved and copy the certificate.
-
Navigate to the following path on your PaperCut NG/MF Application ServerAn Application Server is the primary server program responsible for providing the PaperCut user interface, storing data, and providing services to users. PaperCut uses the Application Server to manage user and account information, manage printers, calculate print costs, provide a web browser interface to administrators and end users, and much more. and paste the certificate in this path:
[app-path]\server\custom\
-
Right-click the Command Prompt.
-
Select Run as administrator.
-
Run the following command:
[app-path]/runtime/jre/bin
-
On the directory, delete any existing files with the following name:
my-ssl-keystore
-
On the Command Prompt, run the following command:
keytool -importkeystore -srckeystore "[app-path]\server\custom\MySslExportCert.pfx" -srcstoretype pkcs12 -destkeystore "[app-path]\server\custom\my-ssl-keystore"
-
Enter the following responses to the SSL keyIn typical public key infrastructure (PKI) arrangements, a digital signature from a certificate authority (CA) attests that a particular public key certificate is valid (i.e., contains correct information). An SSL key can be either a public key (can be disseminated publicly) or a private key (known only to the owner).:
Enter destination keystore password: Enter keystore password.
Re-enter new password: Re-enter the same keystore password.
Enter source keystore password: Enter the same password as entered while exporting the certificate on the Certificate Export Password screen.
For example:
keytool -importkeystore -srckeystore "c:\Program Files\PaperCut NG/MF\server\custom\MySslExportCert.pfx" -srcstoretype pkcs12 -destkeystore "c:\Program Files\PaperCut NG/MF\server\custom\my-ssl-keystore"


Step 3: Configure the PaperCut NG/MF keystore
To configure the PaperCut Application Server to use the new key/certificate:
-
Copy your signed keystore onto the server running the PaperCut NG/MF Application Server. The suggested location is [app-path]/server/custom/my-ssl-keystore
-
Open the file [app-path]/server/server.properties with a text editor (e.g. Notepad).
-
Remove the # (hash) comment marker from all lines starting with:
server.ssl.keystore=
server.ssl.keystore-password=
server.ssl.key-password=
-
Define the following:
server.properties value Description server.ssl.keystore
The location of your keystore. This must match the value specified by -k in create-ssl-keystore.
If you did not specify this value in create-ssl-keystore, leave it as default.
server.ssl.keystore-password
The keystore password. This must match the value specified by -keystorepass in create-ssl-keystore.
If you did not specify this value in create-ssl-keystore, leave it as default.
server.ssl.key-password
The keystore key password. This must match the value specified by -keystorekeypass in create-ssl-keystore.
If you did not specify this value in create-ssl-keystore, leave it as default.
-
Save the file.
NOTEOn Mac OS, for server.ssl.keystore, specify the FULL path to your keystore. For example, /Applications/PaperCut NG/MF/server/custom/my-ssl-keystore
-
Restart the PaperCut NG/MF Application Server.