Install the Direct Print Monitor on a Windows computer
This is the original, manual method of deploying Direct PrintingDirect Printing allows you to print directly from a desktop to a printer, without the need for a print server. (serverless printing).
Now there's a much simpler and faster method, called Print Deploy. For more information and setup details, head over to the Print Deploy Help Center.
This section describes the process of setting up Direct Printing on Windows computers. The primary Application ServerAn Application Server is the primary server program responsible for providing the PaperCut user interface, storing data, and providing services to users. PaperCut uses the Application Server to manage user and account information, manage printers, calculate print costs, provide a web browser interface to administrators and end users, and much more. can be either a Windows, Mac, or a Linux based system. PaperCut NG/MF has full support for "mixed" or heterogeneous printing environments.
If your organization does not have a dedicated print serverA print server is a system responsible for hosting print queues and sharing printer resources to desktops. Users submit print jobs to a print server rather then directly to the printer itself. A print server can be a dedicated server but on many networks this server also performs other tasks, such as file serving at one or more sites, you should consider setting up Direct Printing. Direct Printing allows you to track and report on local printing that is sent directly from a computer to a printer, without a print server. The following steps show how to install Direct Print on Windows machines. For more information about installing Direct Print on other operating systems, see:
Step 1: Ensure the primary server is set up correctly
Before installing the Direct Print MonitorThe Direct Print Monitor is the Direct Printing component that tracks jobs between desktops and an MFD., you should ensure that the primary server (Application Server) is set up and running correctly.
Verify that:
-
PaperCut NG/MF release 16.0 or above is installed.
-
Users can log in to user pages from their computers.
-
Administrators can access the system.
-
The Application Server is accessible from each computer requiring Direct Printing, that is, you can ping the Application Server.
Step 2: Ensure firewall software is set to allow access to the port used by the Application Server
A computer with the Direct Print Monitor installed needs to communicate (initiate a TCP connection) on the port used by the Application Server (by default this is port 9191). Ensure that any firewall software on the primary Application Server is not set to block any incoming local network traffic on this port.
Step 3: Change the default configuration (optional)
The Direct Print Monitor installation configuration file is installed in the following location on the Application Server:
[app-path]/providers/direct-print-monitor/win/direct-print-monitor.conf
If you need to change the configuration after deploying Direct Printing, you must change the configuration on every computer using Direct Printing.
The Direct Print Monitor configuration file is automatically generated with the hostname of the Application Server when the Application Server is installed. If required, you can change the default configuration, however, the default configuration suits most implementations. For example, you can change the IP address of the Application Server to a Fully Qualified Domain Name (FQDN).
Step 4: Install the Direct Print Monitor on each computer
Install the Direct Print Monitor on each Windows computer. You can either:
If you do not have many computers on which you want to install the software, manual installation might be easier.
If the computer has a PaperCut NG/MF Print ProviderA Print Provider is a monitoring service installed on a secondary print server to allow PaperCut to control and track printers. This monitoring component intercepts the local printing and reports the use back to the primary Application Server. installed, uninstall it.
-
Ensure the following files are in a shared folder that is accessible to the target computers (i.e. a network share or mapped drive):
[app-path]\providers\direct-print-monitor\win\
This folder contains the following files:
- pc-direct-print-monitor.exe
- direct-print-monitor.conf
NOTEThese two files must be in the same folder for the Direct Print Monitor installation to work.
-
On each computer, navigate to the shared folder on the Application Server.
-
Double-click pc-direct-print-monitor.exe.
-
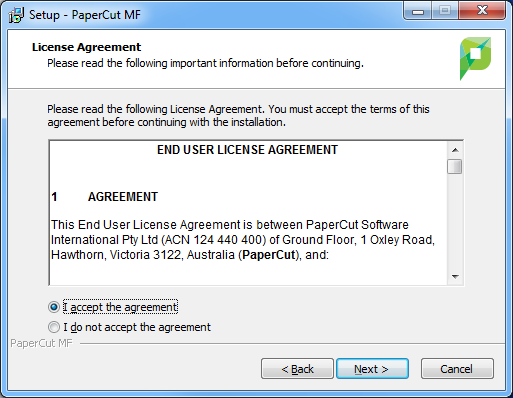
Read the End User License Agreement.
-
Select I accept the agreement; then click Next.

-
Click Next.
-
Click Finish.
When the installation is complete, the Completing the PaperCut Setup Wizard screen is displayed.
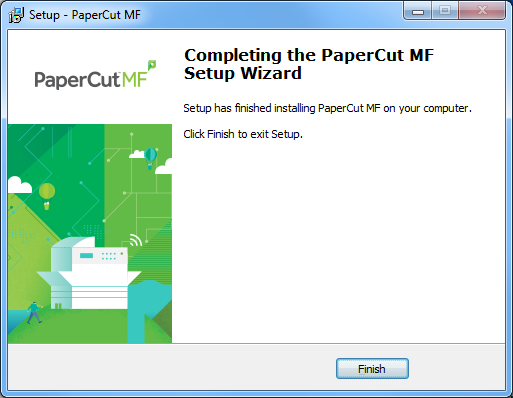
The Direct Print Monitor is installed.
If you have a large number of computers, or existing automated install processes in place, then we recommend you automate the install process. The Direct Print Monitor installation process can also be automated via command line switches issued to the installer program. This is useful if you need to install the Direct Print Monitor on a number of computers.
To automate the installation:
-
Ensure the following files are in a shared folder that is accessible to the target computer (i.e. a network share or mapped drive):
- pc-direct-print-monitor.exe—Windows installer program
- direct-print-monitor.conf
NOTEOn Windows Application Servers, these files are located by default in the following shared folder:
[app-path]\providers\direct-print-monitor\win\
-
Use a batch file or equivalent to start the install program. For example, for Windows use the following:
pc-direct-print-monitor.exe /TYPE=secondary_print /SILENT
-
Replacing the /SILENT option with /VERYSILENT suppresses all visual output during the installation process.
-
The copy of the direct-print-monitor.conf file is used during the install process to ensure the installation is aware of the location of the main Application Server.
-
For a full list of command-line arguments, see Automate installation on Windows.
You cannot install the Direct Print Monitor on a computer that has a Print Provider installed. This includes computers that are acting as Application Servers, Site Servers, and secondary servers.
Step 5: Test
The Direct Print Monitor should now be configured.
-
Log in to the Application Server as "admin" and verify that the printer queues are linked to the printer:
-
Click the Printers tab.
The Printer List page is displayed.
-
Select a printer.
The Printer Details page is displayed showing the Summary tab contents.
-
Click the Queues tab.
-
Verify that the printer queues are linked to the printer.
-
-
Perform a multi-page test print on each printer and verify that print jobs are tracked correctly.