Enable Advanced Scan to Fax actions
For information about Scan to Fax, take a look at Scan to Fax explained.
-
Go to the Scan to Fax - fax providers, devices, and models KB and check your device supports APIApplication Programming Interface (API) is a set of routines, protocols, and tools for building software and applications. An API expresses a software component in terms of its operations, inputs, outputs, and underlying types, defining functionalities that are independent of their respective implementations, which allows definitions and implementations to vary without compromising the interface. delivery.
-
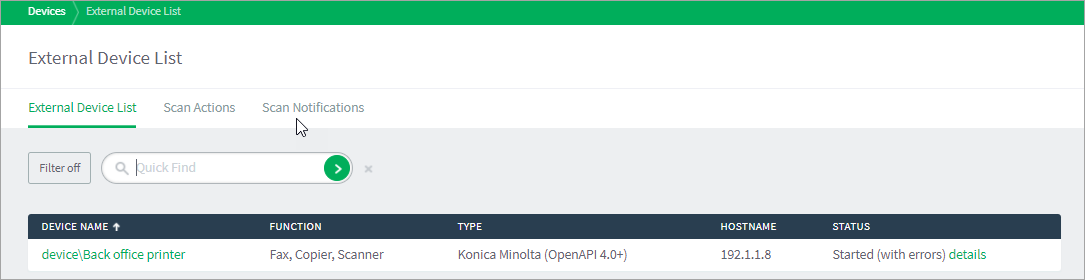
Navigate to Devices > External Device List.
-
Select the device you want to set up for Advanced Scan to Fax. The Device Details: <device name> page is displayed.
-
Scroll down to the Integrated ScanningIntegrated Scanning provides a secure, consistent, and easy way for users to scan documents to: their own email address, their own home folders, or other authorized email and folder destinations. section.

-
Click Allow Advanced Scan to Fax actions to appear on the device.
NOTEWhen PaperCut MF is upgraded to 21.1, the Integrated Scanning section includes the following 2 checkboxes:
-
Allow Advanced Scan to Fax actions to appear on the device
-
Prevent Basic Scan to Fax actions from appearing on the device
For new installs and for upgrades, both these checkboxes are off by default.
For existing environments that already have an advanced scan action set up prior to upgrade, after the upgrade the Allow Advanced Scan to Fax actions to appear on the device is on by default.

-
-
If you don't want the basic scan actions available on the MFD, click Prevent Basic Scan to Fax actions from appearing on the device.